by Daniel Bubnis: Poor circulation can be caused by a number of things: sitting all day at a desk…
high cholesterol, blood pressure issues, and even diabetes. It can also manifest in many ways, including:
- numbness
- cold hands and feet
- swelling
- muscle cramps
- brittle hair and nails
- breakouts
- dark circles under your eyes
Luckily, there are almost as many ways to combat it as there are symptoms. You can try:
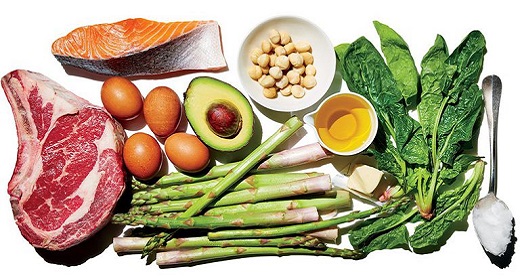
- medication
- diet
- avoiding smoking
- exercise
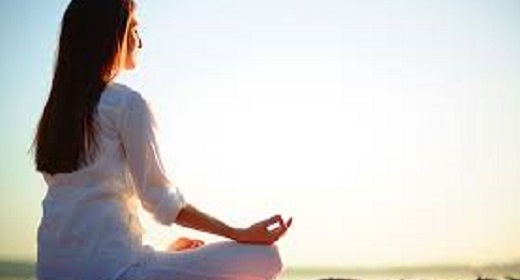
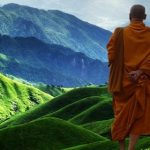
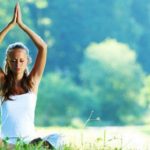
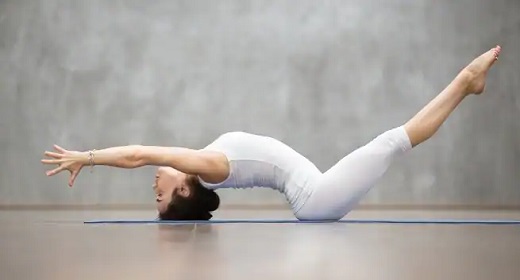
Movement is key to wellness on many levels, including for circulatory health. Yoga is not only one of the most accessible types of exercise (it’s low impact and can be done by people at all levels), but it’s also one of the best types of exercise for poor circulation.
The below sequence of poses will be a great addition to your self-care and wellness routine. This is especially true if you’re dealing with circulation issues, no matter what their cause or physical manifestation in your body.
Equipment needed: Though yoga can be done without a yoga mat, one is recommended for the below sequence. It can help you maintain firm footing and is used in some of the instructions as well.
Downward-Facing Dog
Downward-Facing Dog is great for circulation because it puts your hips above your heart and your heart above your head, which means gravity helps facilitate blood flow to your head. It also strengthens your legs, improving circulation in them.
Muscles worked: hamstrings, latissimus dorsi, deltoids, glutes, serratus anterior, and quadriceps
- Start on all fours, with your shoulders above your wrists, your hips above your knees, and toes tucked under.
- Take a deep breath in, and as you exhale, press firmly into your hands as you lift your hips into the air, straightening your arms and legs.
- For some, this may be a good stance immediately. For others, you may want to walk your feet back just a touch so it feels comfortable.
- Breathe normally but deeply as you press into each finger and press your heels toward the floor. Your heels may not be on the ground here, depending on your stance, but you want them working in that direction, keeping your legs active.
- Let your neck relax, but do not let it hang.
- Stay here for three long, deep breaths. (You can repeat this a few times, though it would be best to do the entire series a few times, starting each time with this pose.)
Warrior II
Warrior II is wonderful for improving muscle tone in your legs. Your muscles will be compressing and releasing the veins in your legs, thus increasing effective circulation.
Muscles worked: quadriceps, piriformis, hip ligaments, scalenes, and pectoralis minor
- From Downward-Facing Dog, look between your hands and step your right foot as close as you can get it to between your hands. If it does not easily go between them, you can help move it forward with a hand.
- Before lifting your hands off the floor, turn your left foot so that the outside of it runs parallel to the back edge of the mat. Your front foot should be lined up with the toes facing forward. If you were to run a line from the back of your right heel to the back of the mat, it should hit the middle of your back foot. (Note: If you feel unstable in this stance, step your right foot a bit to the right, but keep the feet perpendicularly aligned with each other.)
- Inhale deeply, and as you exhale, cartwheel your hands as you stand. This will mean pressing firmly into your feet and beginning with your left hand coming in front of your body, below your face, then up, in front of, and finally behind your head, your right hand following until you are creating a “T” with your arms.
- As you hold this pose, check your alignment: Your right knee should be at a 90-degree angle, with your knee over your ankle, pressing into the outside edge of your back foot. Your left leg should be straight, your chest open to the left side of the mat, and your arms at shoulder height. Gaze out over your right hand.
- Once you’ve settle into the pose and feel comfortable in your alignment, breathe in and out deeply and slowly at least 3 times.
- After your third exhalation, breathe in once more, and when exhaling that breath, cartwheel your hands back to the ground, on each side of your right foot. Step back to Downward-Facing Dog. Then repeat with your left foot forward.
Triangle
Triangle is also a standing pose, so it’s another one that’s great for muscle tone and leg circulation. This pose involves opening up your chest and expanding the lungs as well, which improves circulation in your torso.
Muscles worked: sartorius, piriformis, gluteus medius, obliques, and triceps
- Begin by repeating the steps to get into Warrior II.
- Instead of settling into Warrior II, inhale as you straighten your front leg and keep your arms aligned over your legs, in that “T.”
- As you exhale, tip your torso over your right leg from your hip, keeping your spine long and your arms in line with your shoulders, so the “T” will tip with you.
- Rest your right hand on your foot, ankle, or shin. Your left arm should be reaching toward the sky. Your gaze can be looking at the front foot, out to the left, or up at your left hand (if you feel like you have the balance to do so).
- Press into your feet and engage your leg muscles as you keep your chest open to the side, breathing deeply.
- After at least three deep breaths, lift your torso from your hip using your core as you bend the front leg again. You can then switch to the other side as you did for Warrior II. (If you are repeating the sequence, go back to pose 1 and repeat the sequence two more times, using the next pose as a resting pose to close out the practice.)
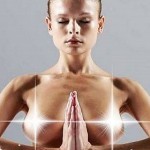
Legs up the wall
Putting your legs up the wall is not just an inversion in the sense that it puts your legs above your heart, but it is also an inversion of how most of us sit all day long. This position can help your blood flow normally, relieving the pooling of blood or fluid in your extremities that may happen in old age.
Muscles worked: hamstrings and neck, as well as the front of the torso
- For this pose, move your mat up against a wall where there is space at the base, where the wall meets the floor, and far enough up the wall that your legs can stretch up it without knocking anything over.
- Sit parallel to the wall. Then, lie down with your feet on the ground, knees bent.
- Pivot on your lower back/upper tailbone, lifting your feet and gently swinging your torso so it intersects the wall and hugs your sitting bones up against the base of the wall. Once you’re comfortable (you may have to wiggle a little), extend your legs up the wall. You can also place a cushion or folded blanket under your lower back if it feels better.
- Rest your arms next to you, palms up. You can stay here as long as you like.
Take it to the next level
If you feel comfortable in inversions, and if you have good balance, core strength, and yoga props, you can do “legs in the air” pose, instead of up the wall. It will not be a resting pose in quite the same manner, but it’s great for circulation as well as the core.
- Stay on your mat and get a yoga block so it’s within reach when you lie down.
- Lie down on the mat, with your knees bent, and lift your hips, placing the block under your sacrum. Be sure it’s firmly on the floor and you’re firmly resting on it.
- Keeping your hands alongside your body, palms pressing into the ground, lift your knees to your chest.
- Inhale deeply. As you exhale, begin to extend your legs to the ceiling slowly and in a controlled manner.
- Pressing your sacrum into the block for support, stay here for 10 full, deep breaths before exiting in the reverse order you entered. Bend knees into your chest and gently roll your pelvis down as you return your feet to the ground. Then press into your feet and lift your hips to remove the block.